blog

AdSense広告掲載の自動化のコードを貼り付ける場所を画像でわかりやすく説明(WordPressのヘッドタグの中)

This website may contain sponsored links and adverts.
blog
This website may contain sponsored links and adverts.

AdSense広告掲載の自動化のコードを貼り付ける場所を画像で説明

adsenseの広告→サマリー→広告掲載の自動化でコードを取得ボタンを押します
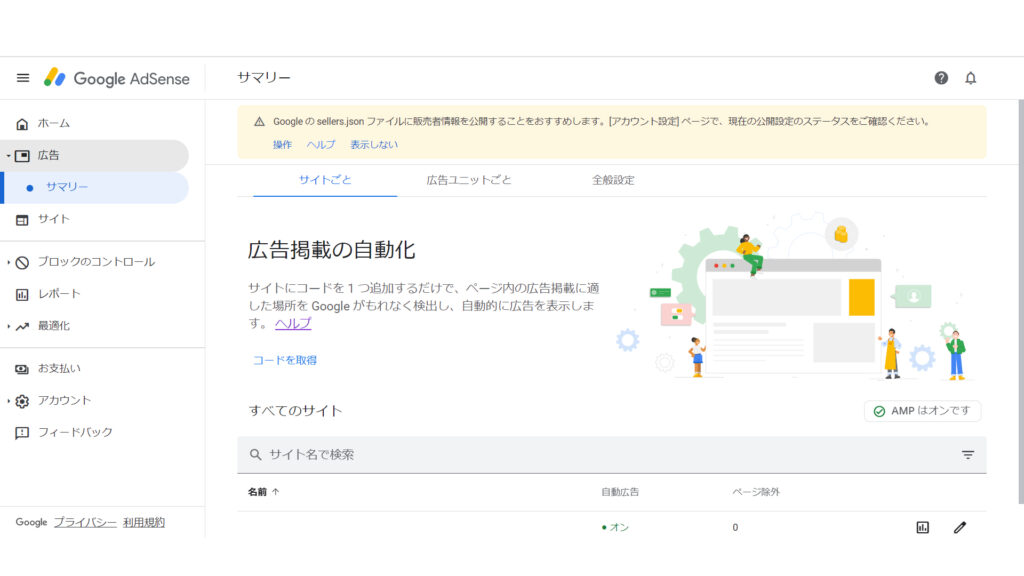
コードが出るのでそれをコピーします
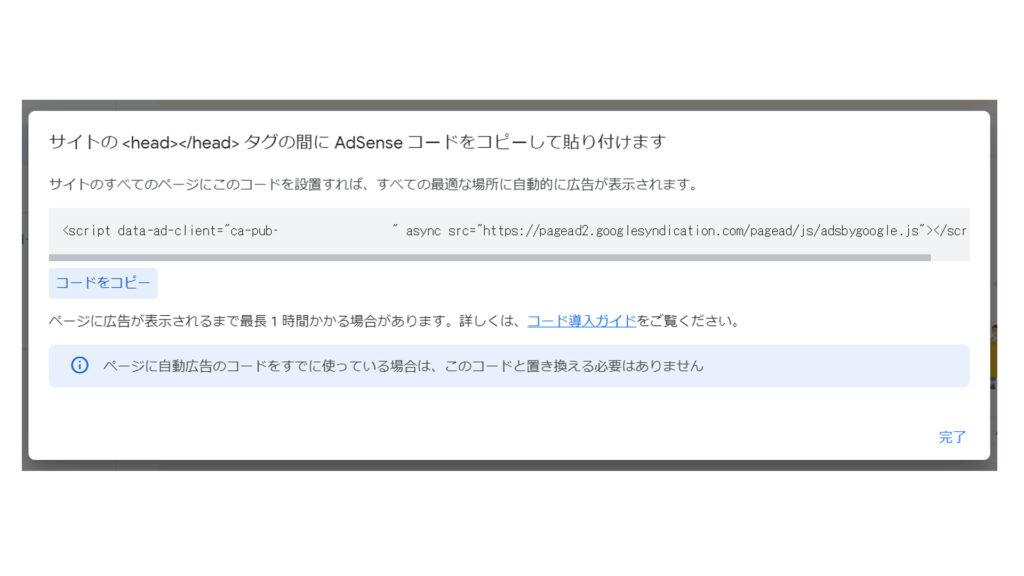
その後、WordPressへ戻ります

ダッシュボードから外観→テーマエディター→ヘッダーの順でヘッドタグの中を表示します。
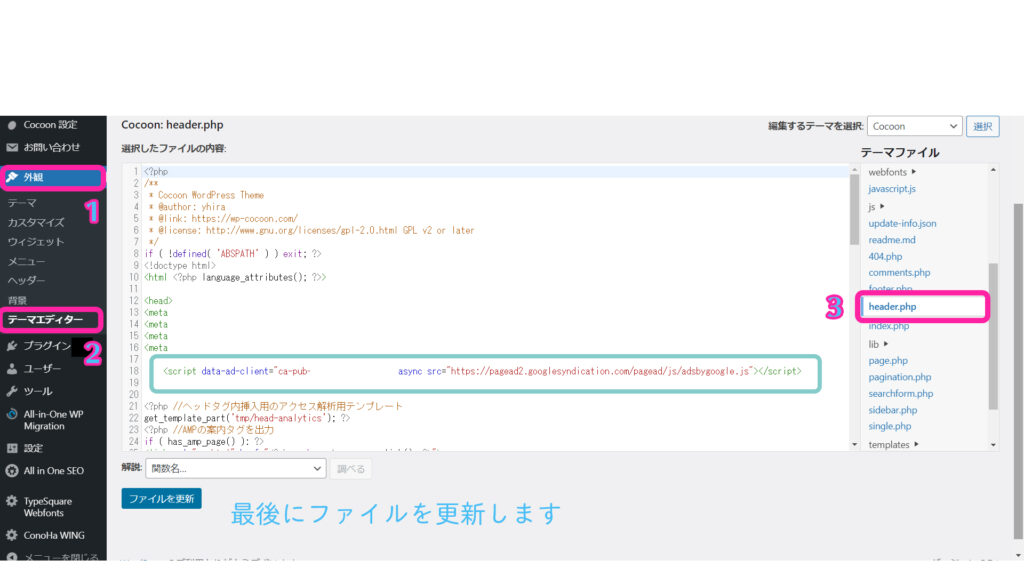
最後に更新ボタンを忘れず押します。

これで設定は完了です。

広告はすぐ反映されないこともありますので、数分程度時間をおいてから広告が反映されるかためしてみてください。

補足です

Cocoon設定にアドセンス広告の欄がありますが、そちらは空欄でも大丈夫です。

そちらにこのコードを貼り付けるとForbiddenとエラーが出てしまいますので気を付けてください。

アドセンス広告の申請でコードを貼り付ける場所はこちらです。

余談ですが…

私はこの広告の欄へscriptの部分を削除して貼り付けていました。

削除したらエラーが出なかったからです。

ですが、広告が反映されることはありませんでした。

初心者のミスでした(笑)

アドセンスの方のヘッドタグの間にという上の文を見ていなかったためです。

コメント

  1. ZAP より:

    Zaproxy dolore alias impedit expedita quisquam.

タイトルとURLをコピーしました